- Published on
Building a floating office desk
- Authors

- Name
- Nick Foote
Introduction
I began working fully remote at the start of 2022. This means I now spend alot of time in my home office. One of my goals during the holiday break was to improve this space for the new year ahead. The room itself is fairly narrow, so maximising desk space was difficult. I'd seen the idea of a floating desk. This led me down a rabbit hole of youtube videos and DIY forums on how people put them together. It was daunting at first - lots of information, conflicting advice, reddit posts of desks collapsing without proper support. I was skeptical, but determined.
The parts
Measurements
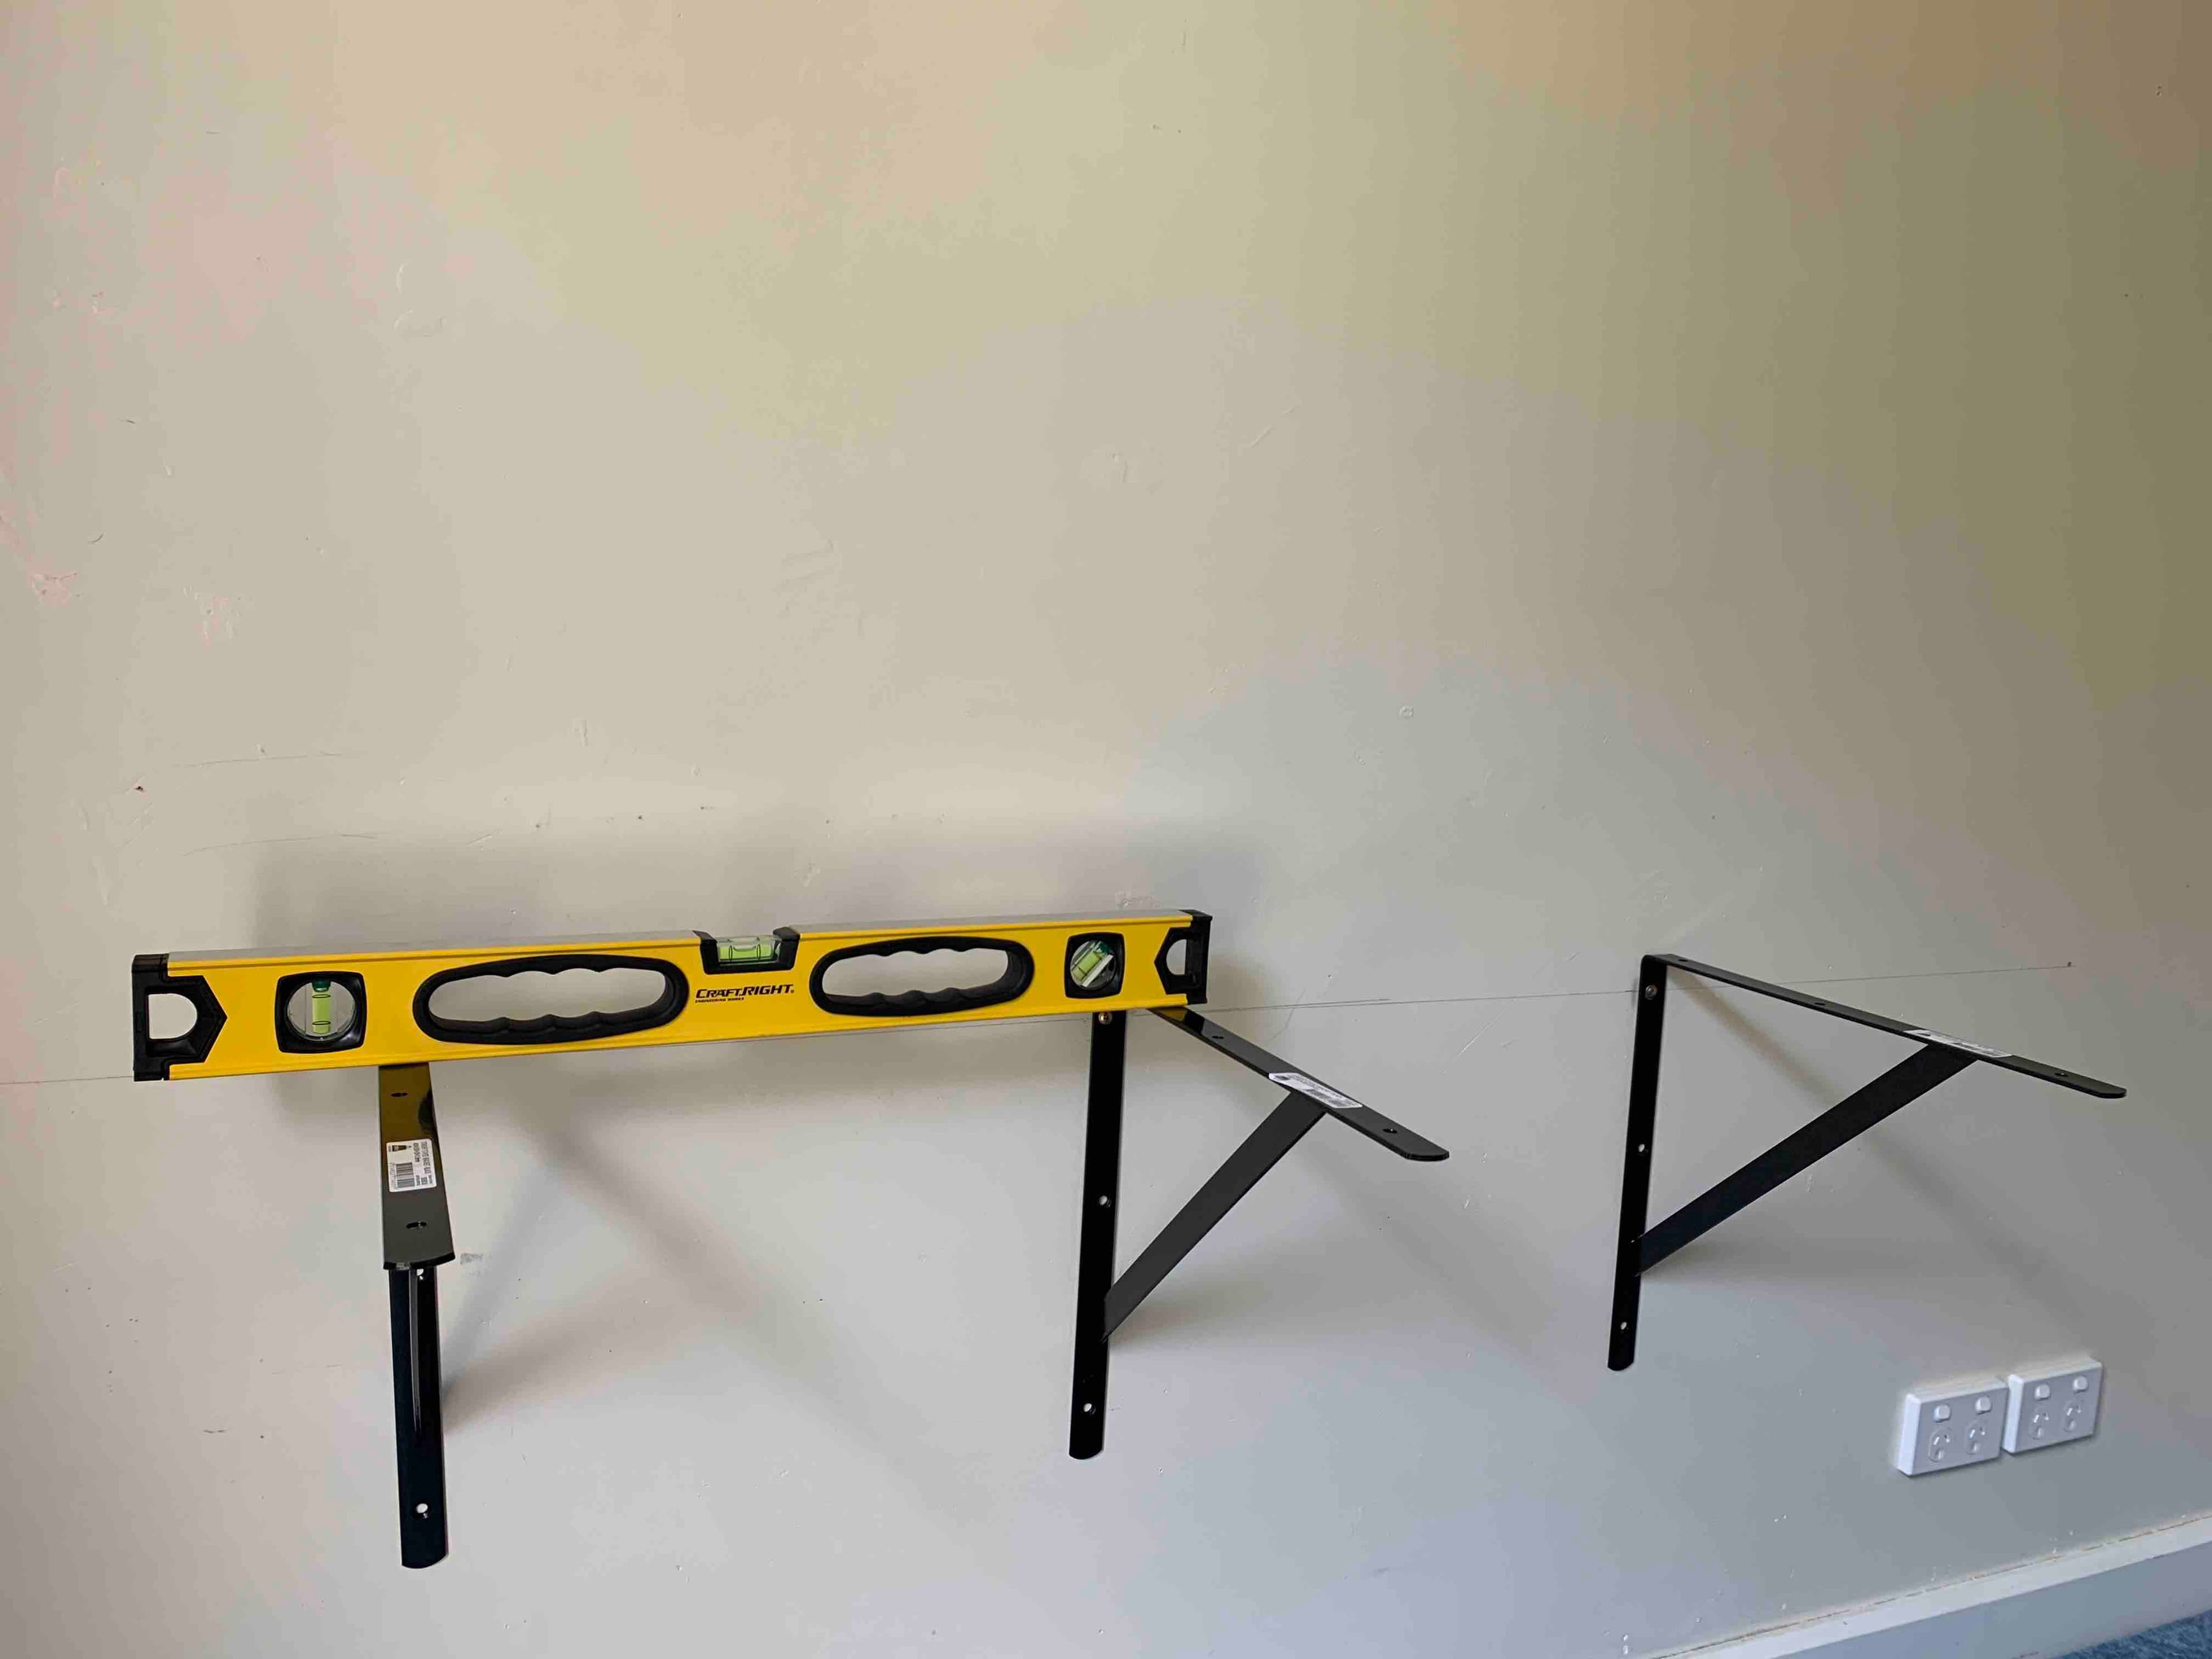
The first thing to consider was desk height. I ended up using my old desk as a guide and marked a pencil line against the wall with it. I then went over the line with a stud finder and marked their positions. When I got to fixing the brackets against the wall I placed the top bracket hole centered on the guide line. I got lucky here I think, as everything was spot on after checking with the spirit level - perfect 👌🏻
Piliot holes and setbacks
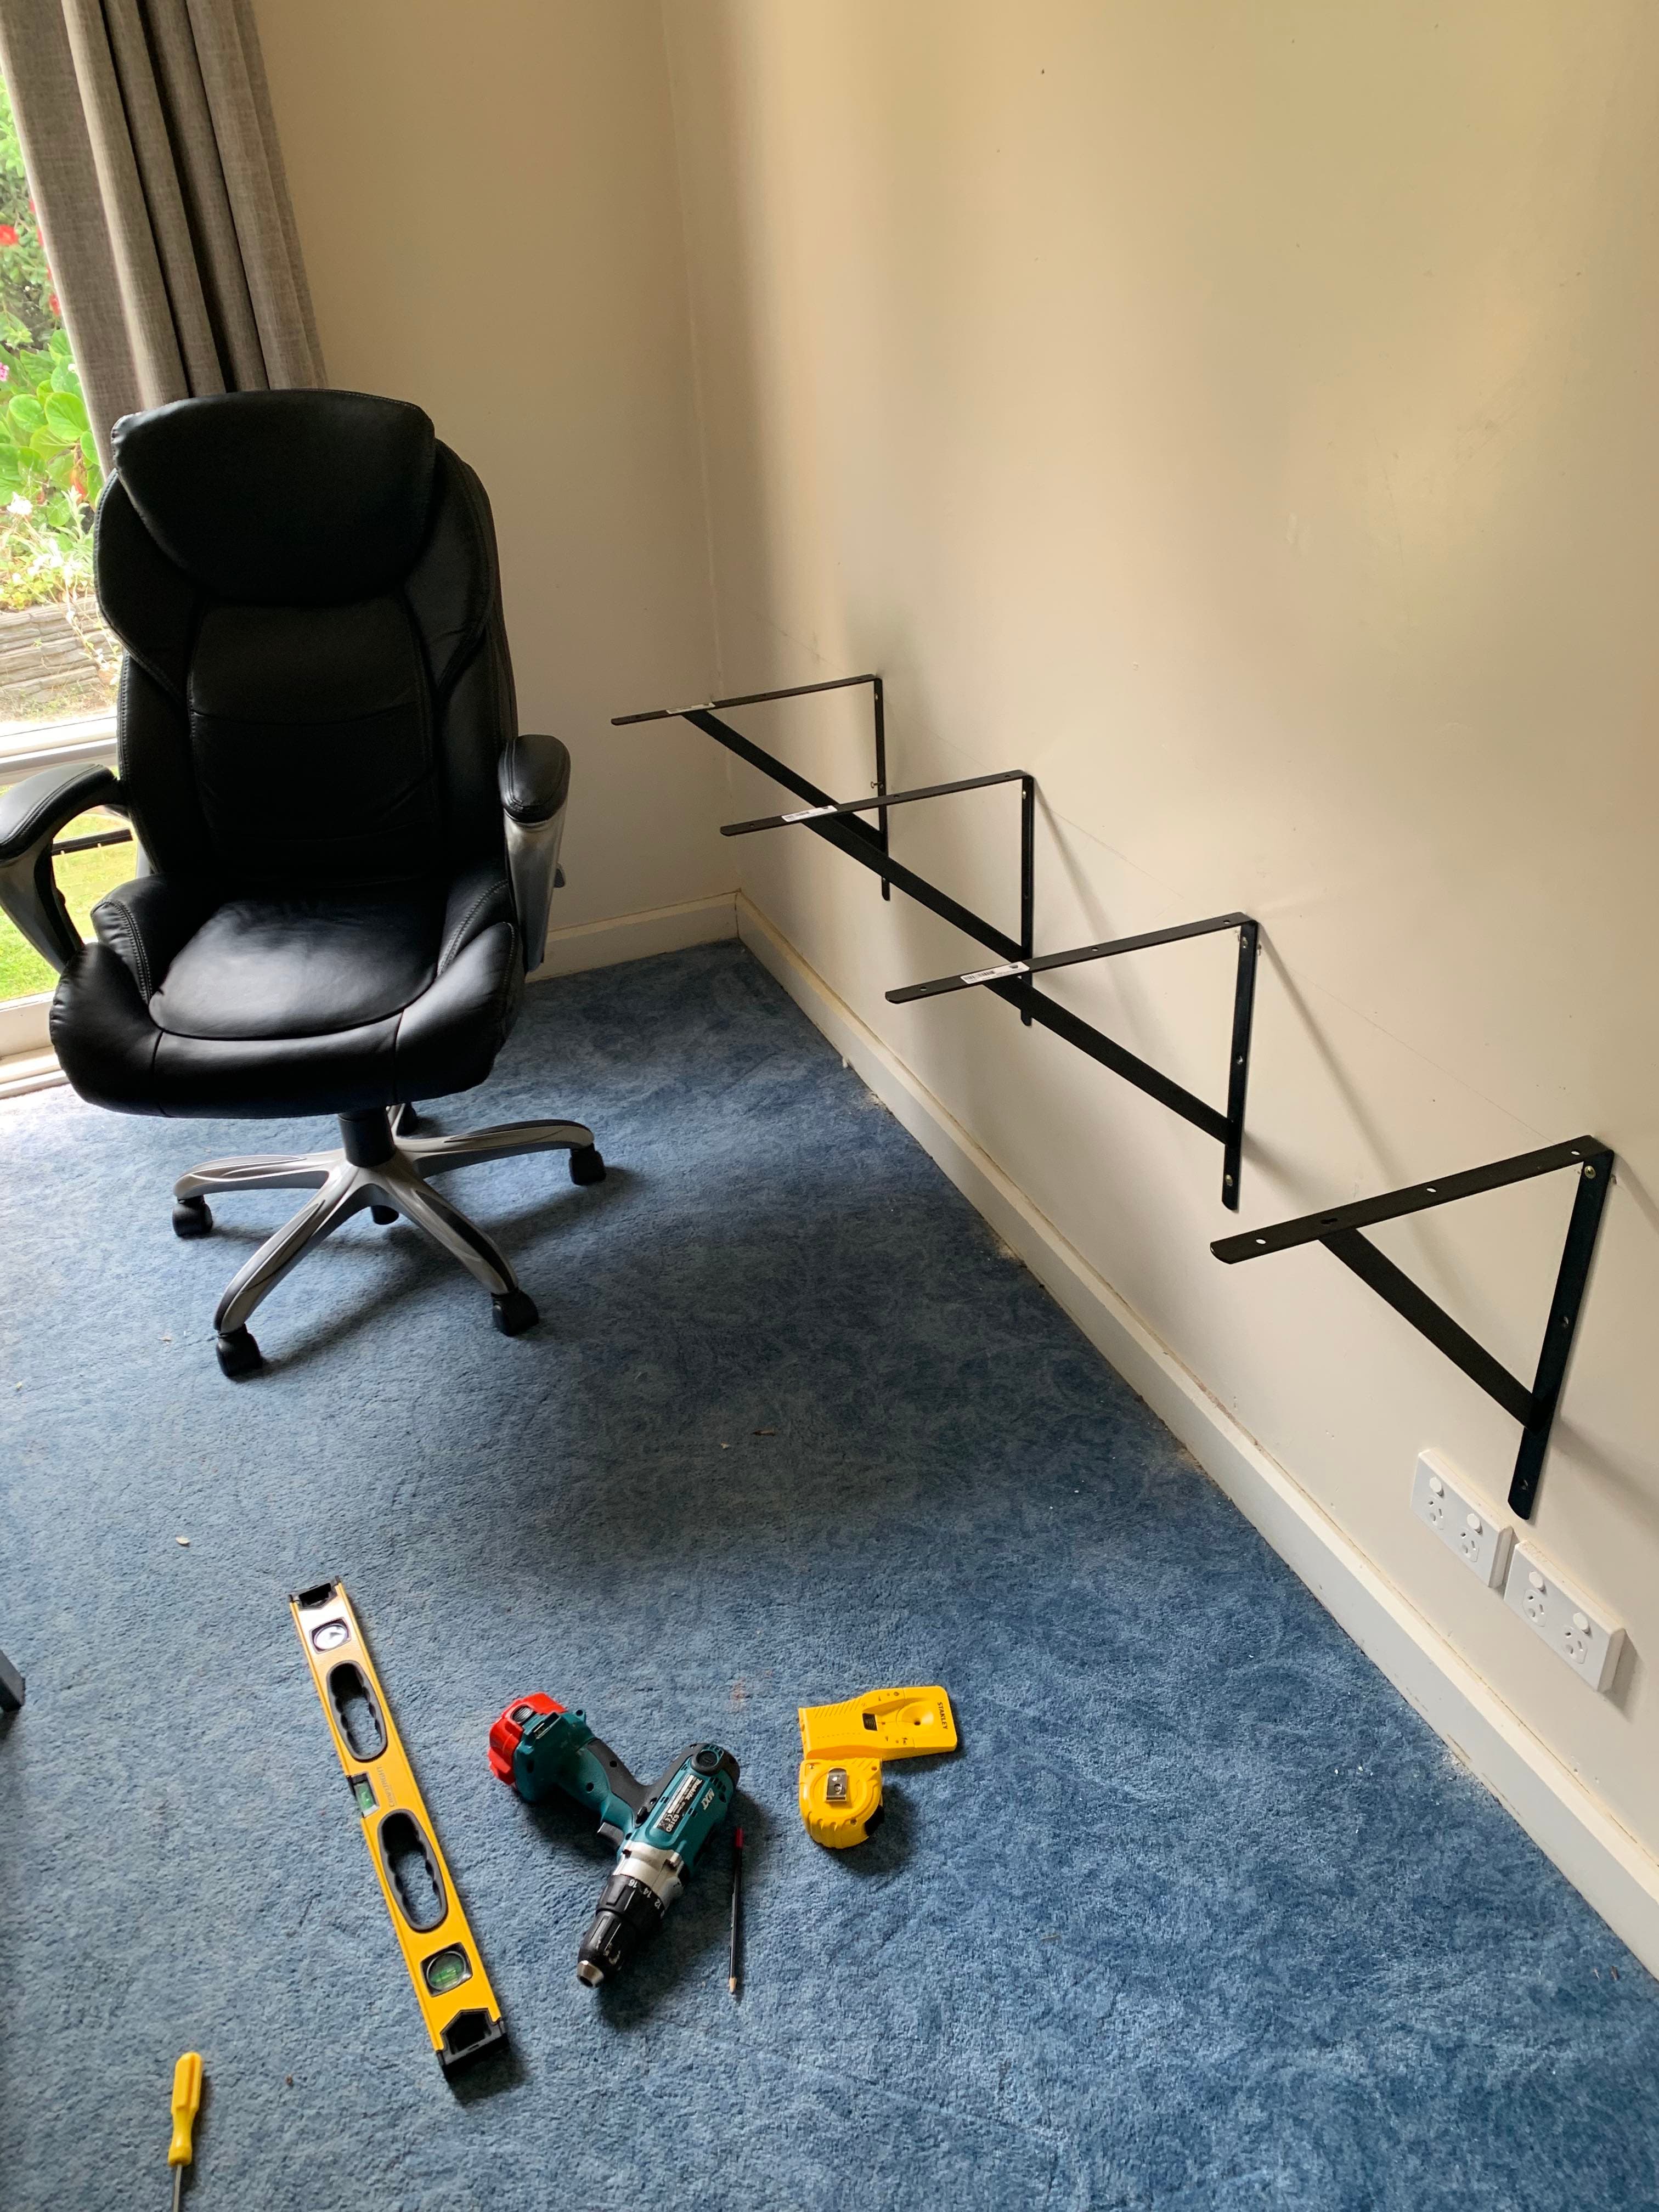
So there is this thing called pilot holes apparently. This is where you pre-drill holes for the screw fixtures. I am a noob and didn't do this. In hindsight I really should of done it before going straight into the studs. The screws went in with some force though - and I'll remember this step for next time I do any DIY 😱. After an afternoon at it I had all brackets level and fixed to the wall.
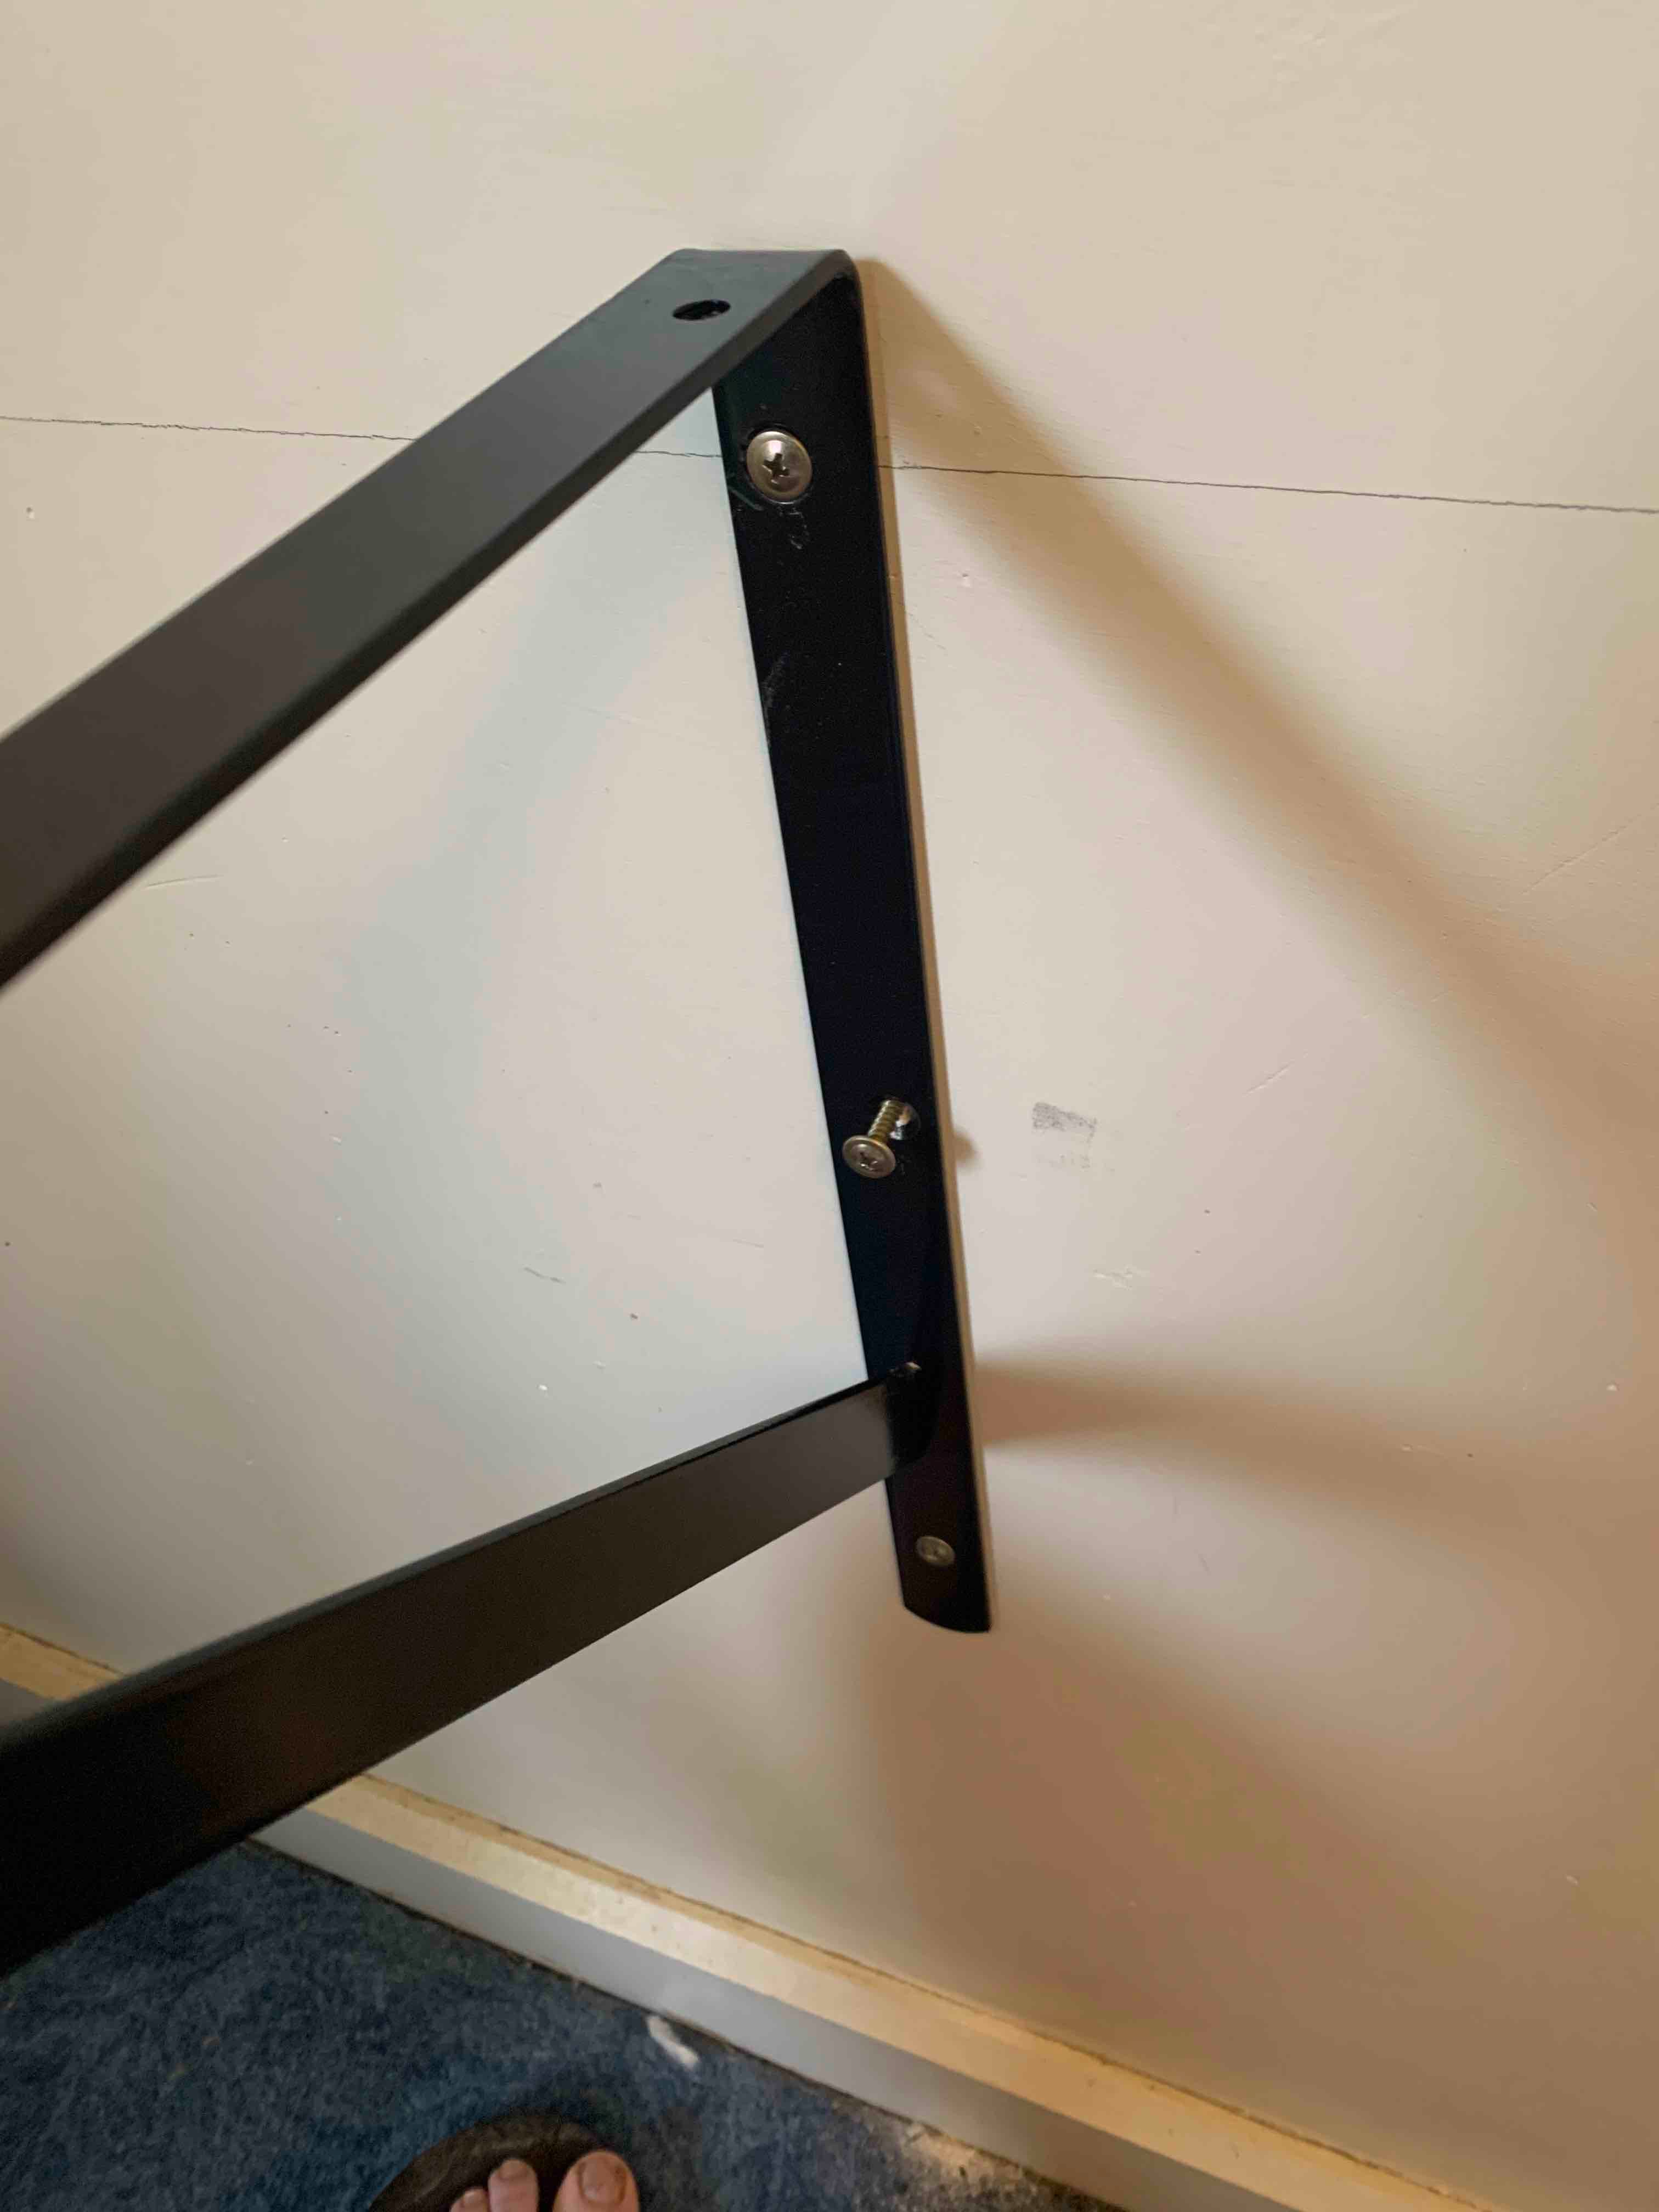
I faced one setback, the middle screw for the bracket was impossible to drill into, even with my smallest drill. I decided to press on and begin preparing the wood panel. I would have to take another trip to the hardware store to solve the middle screw issue.
Preparing the panel
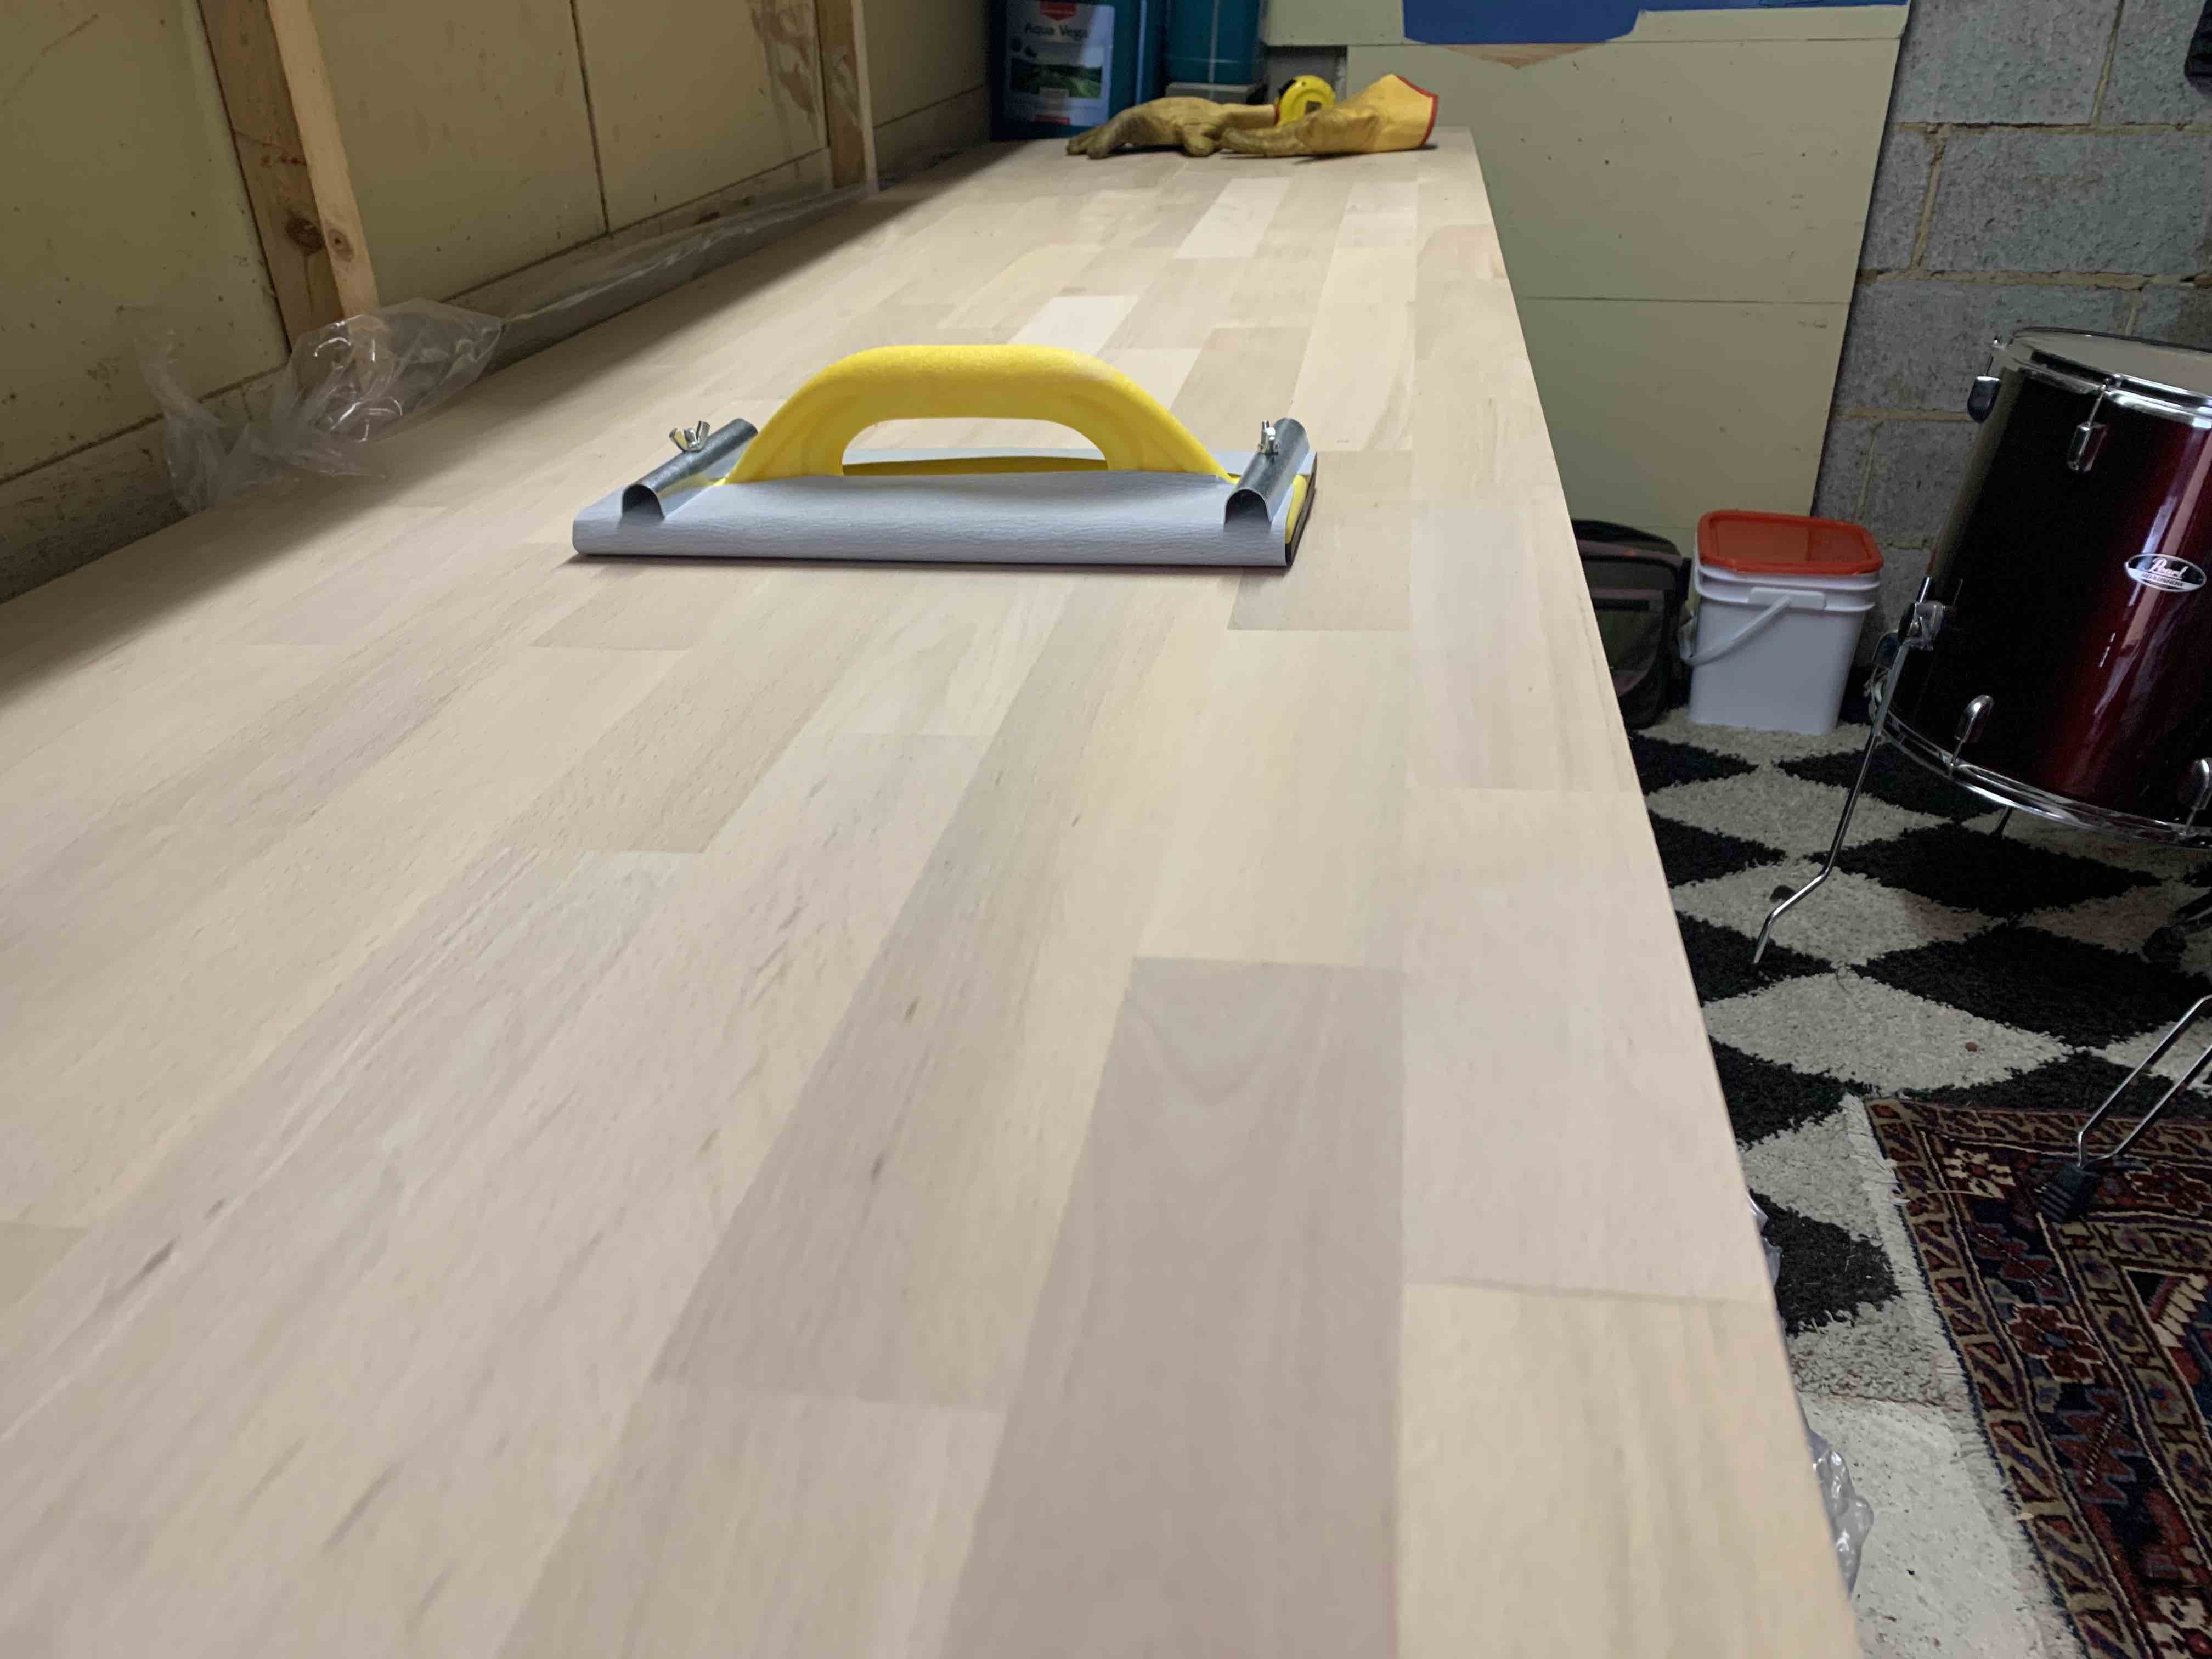
I am fortunate enough to have a workbench under my place. I haven't ever put it to proper use so it felt great to get hands on and use it for prepping the wooden desk panel. While researching how others have done this I saw inventive ideas such as using plastic buckets as supports at either end. This seemed like a good approach, especially when it came to varnishing the panel - instead, I covered the bench in the plastic that the panel came in, which worked well for me. I was concerned that the varnish might stick, but had no issues.
I used a multi-surface sand paper with light grit on both sides. I sanded back until rubbing my hands over the wood felt smooth and wouldn't cause any spliters.
I went for a clear varnish and threw it in a used a plastic food tray. I got a cheap wide set paintbrush which made it really easy to apply in broad strokes.
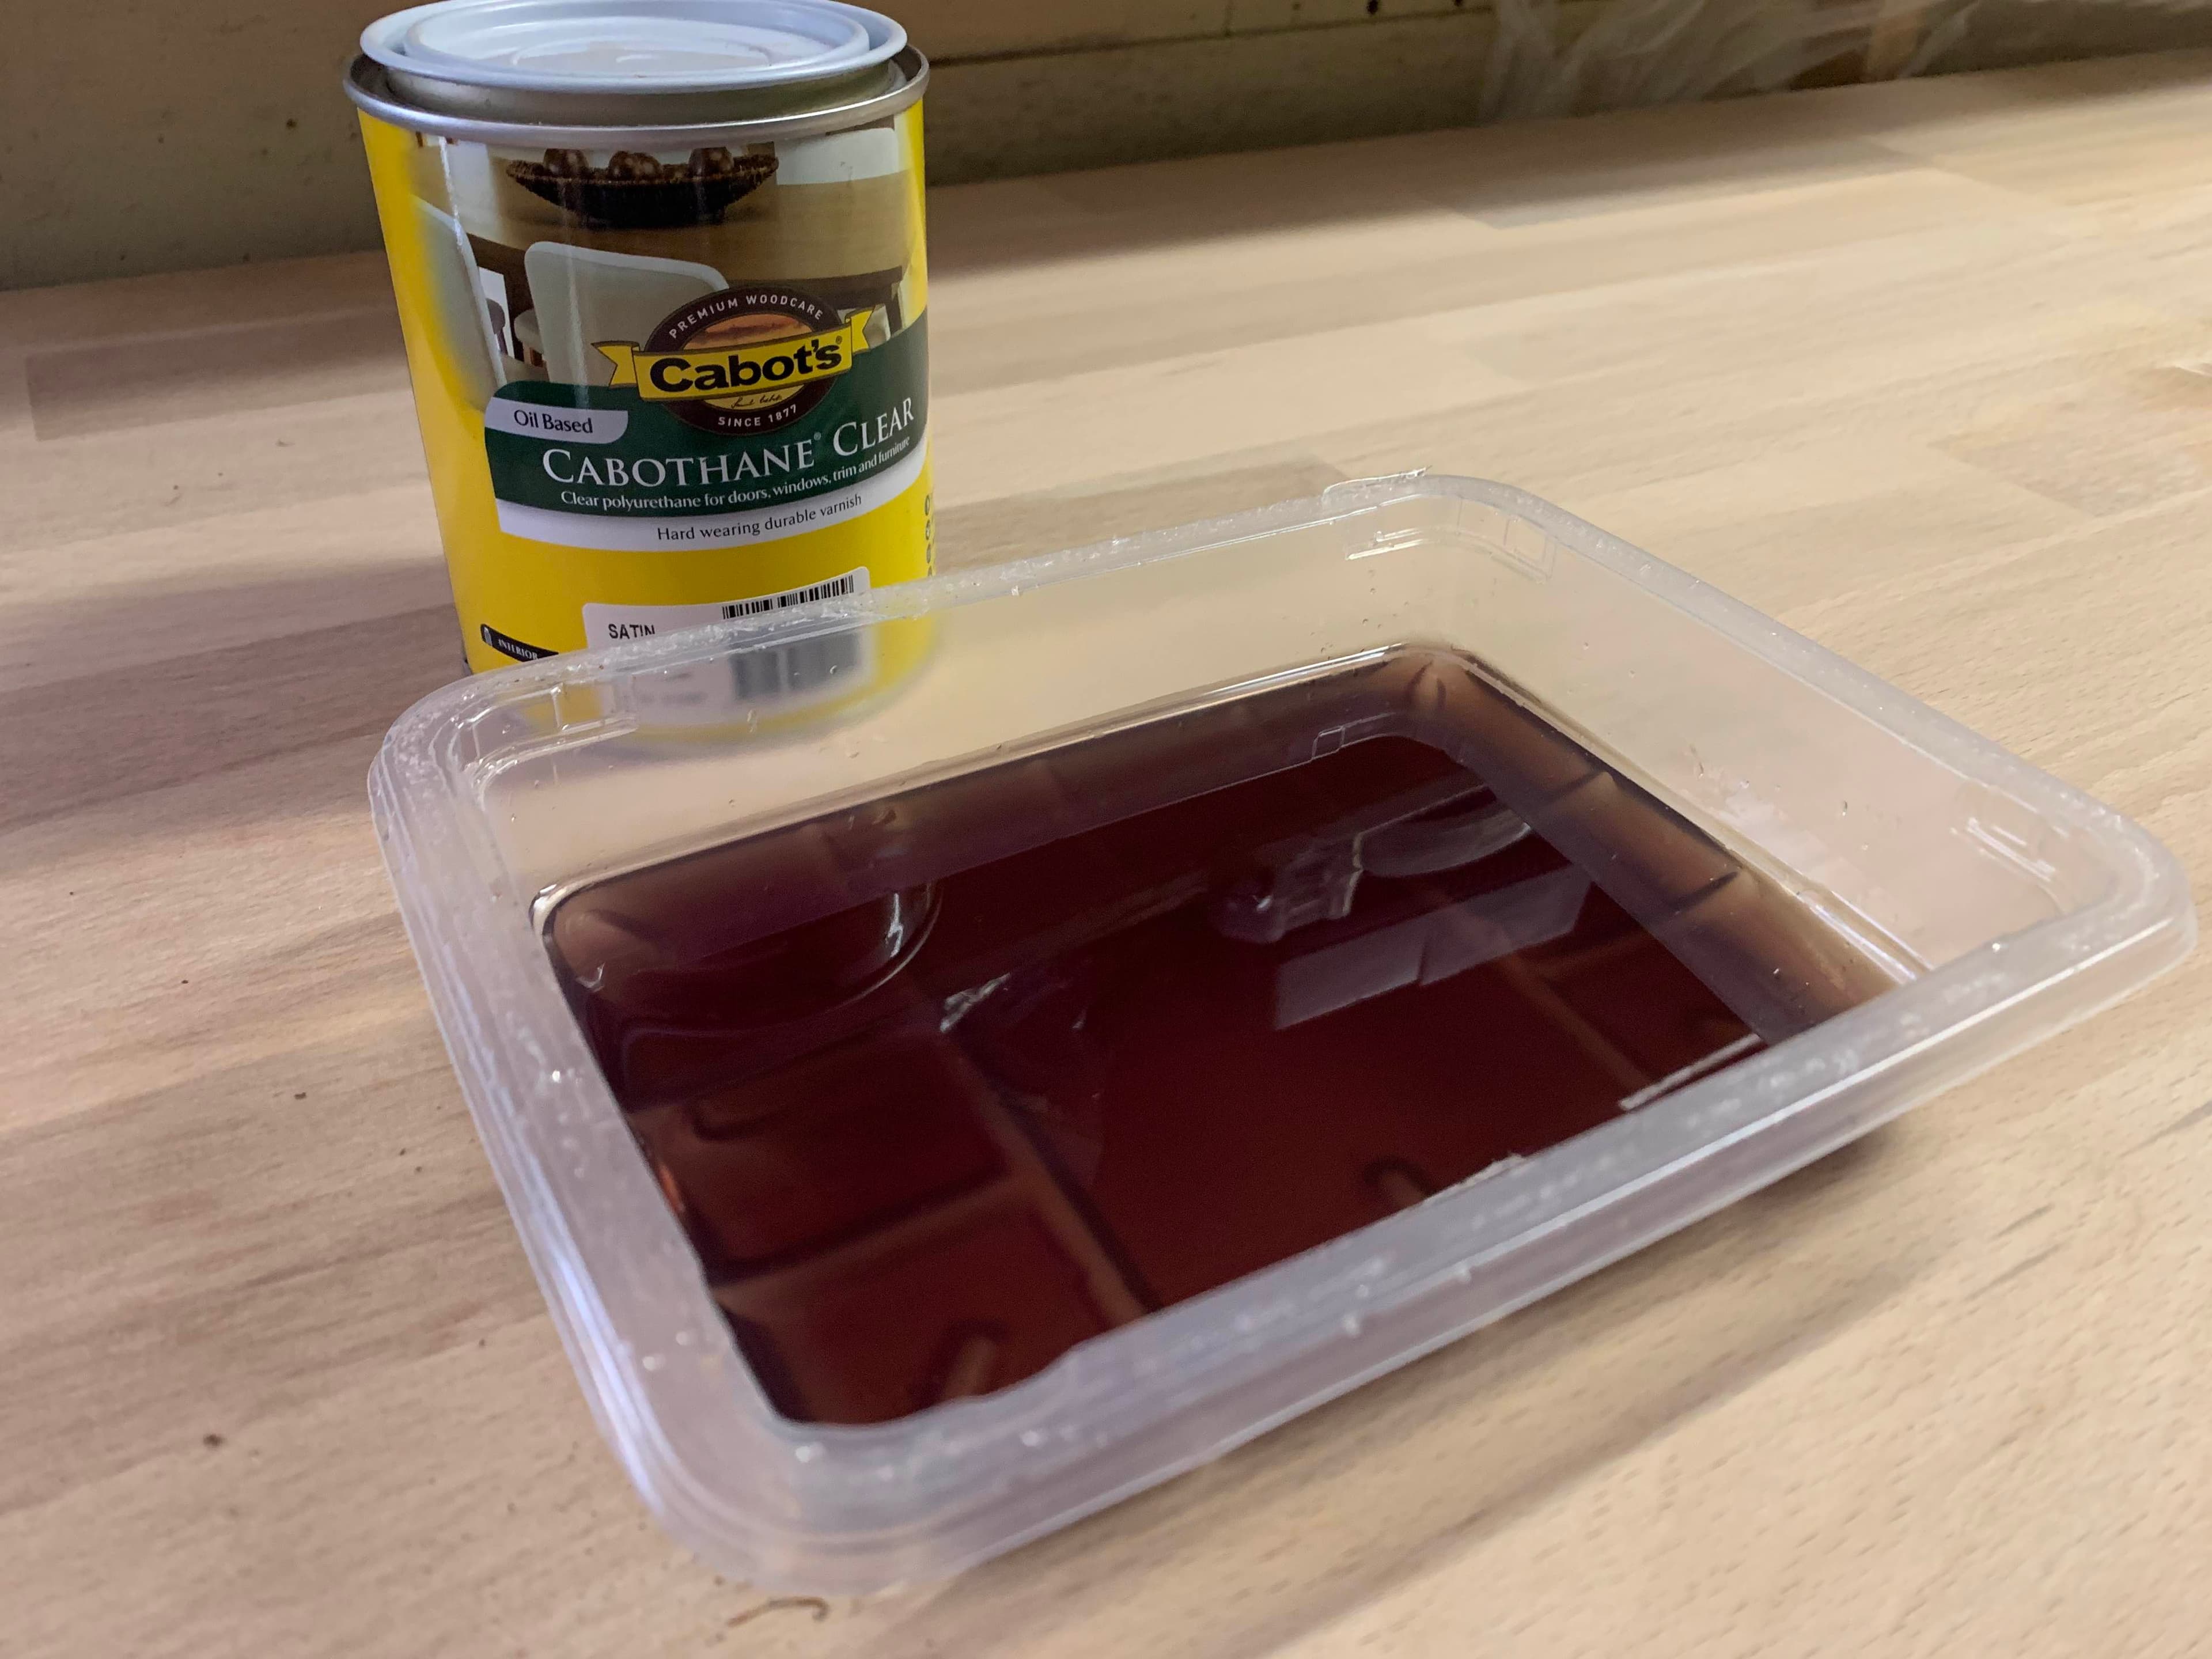
After doing a coat on both sides I let the panel sit with a fan blowing over it to ensure it would dry quickly. It was a hot afternoon and I managed to do another coat before nightfall.
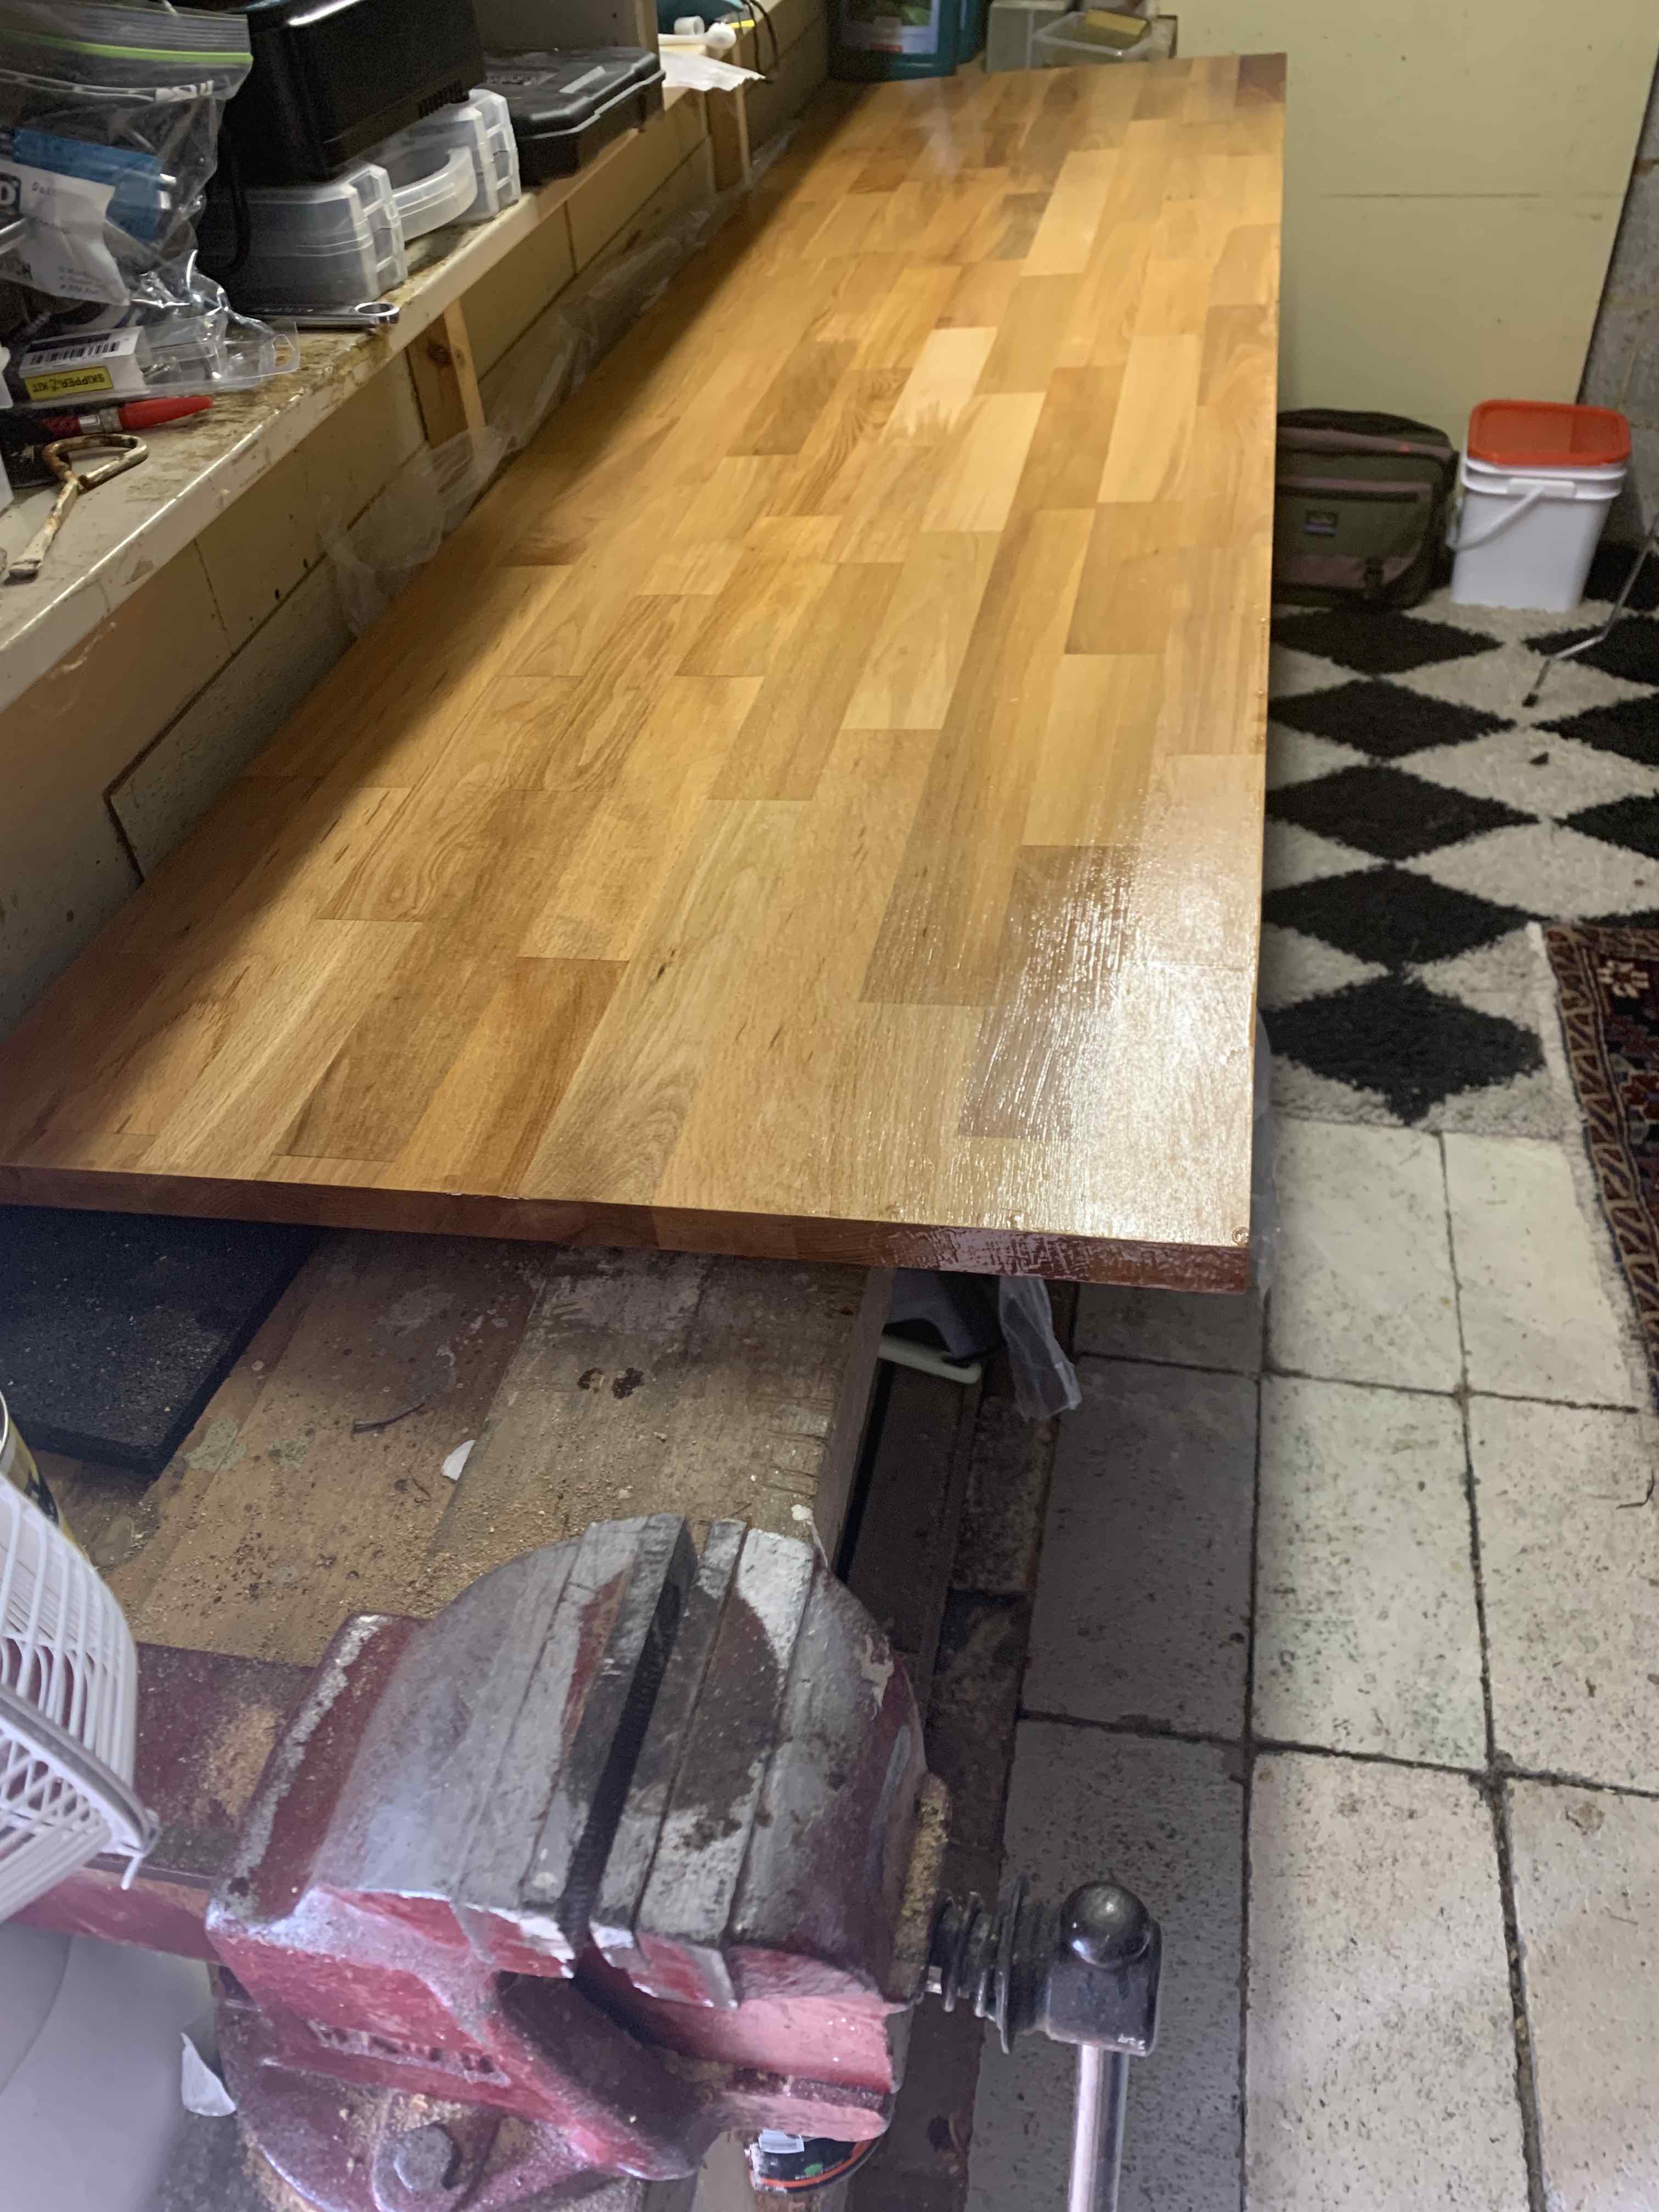
The next day
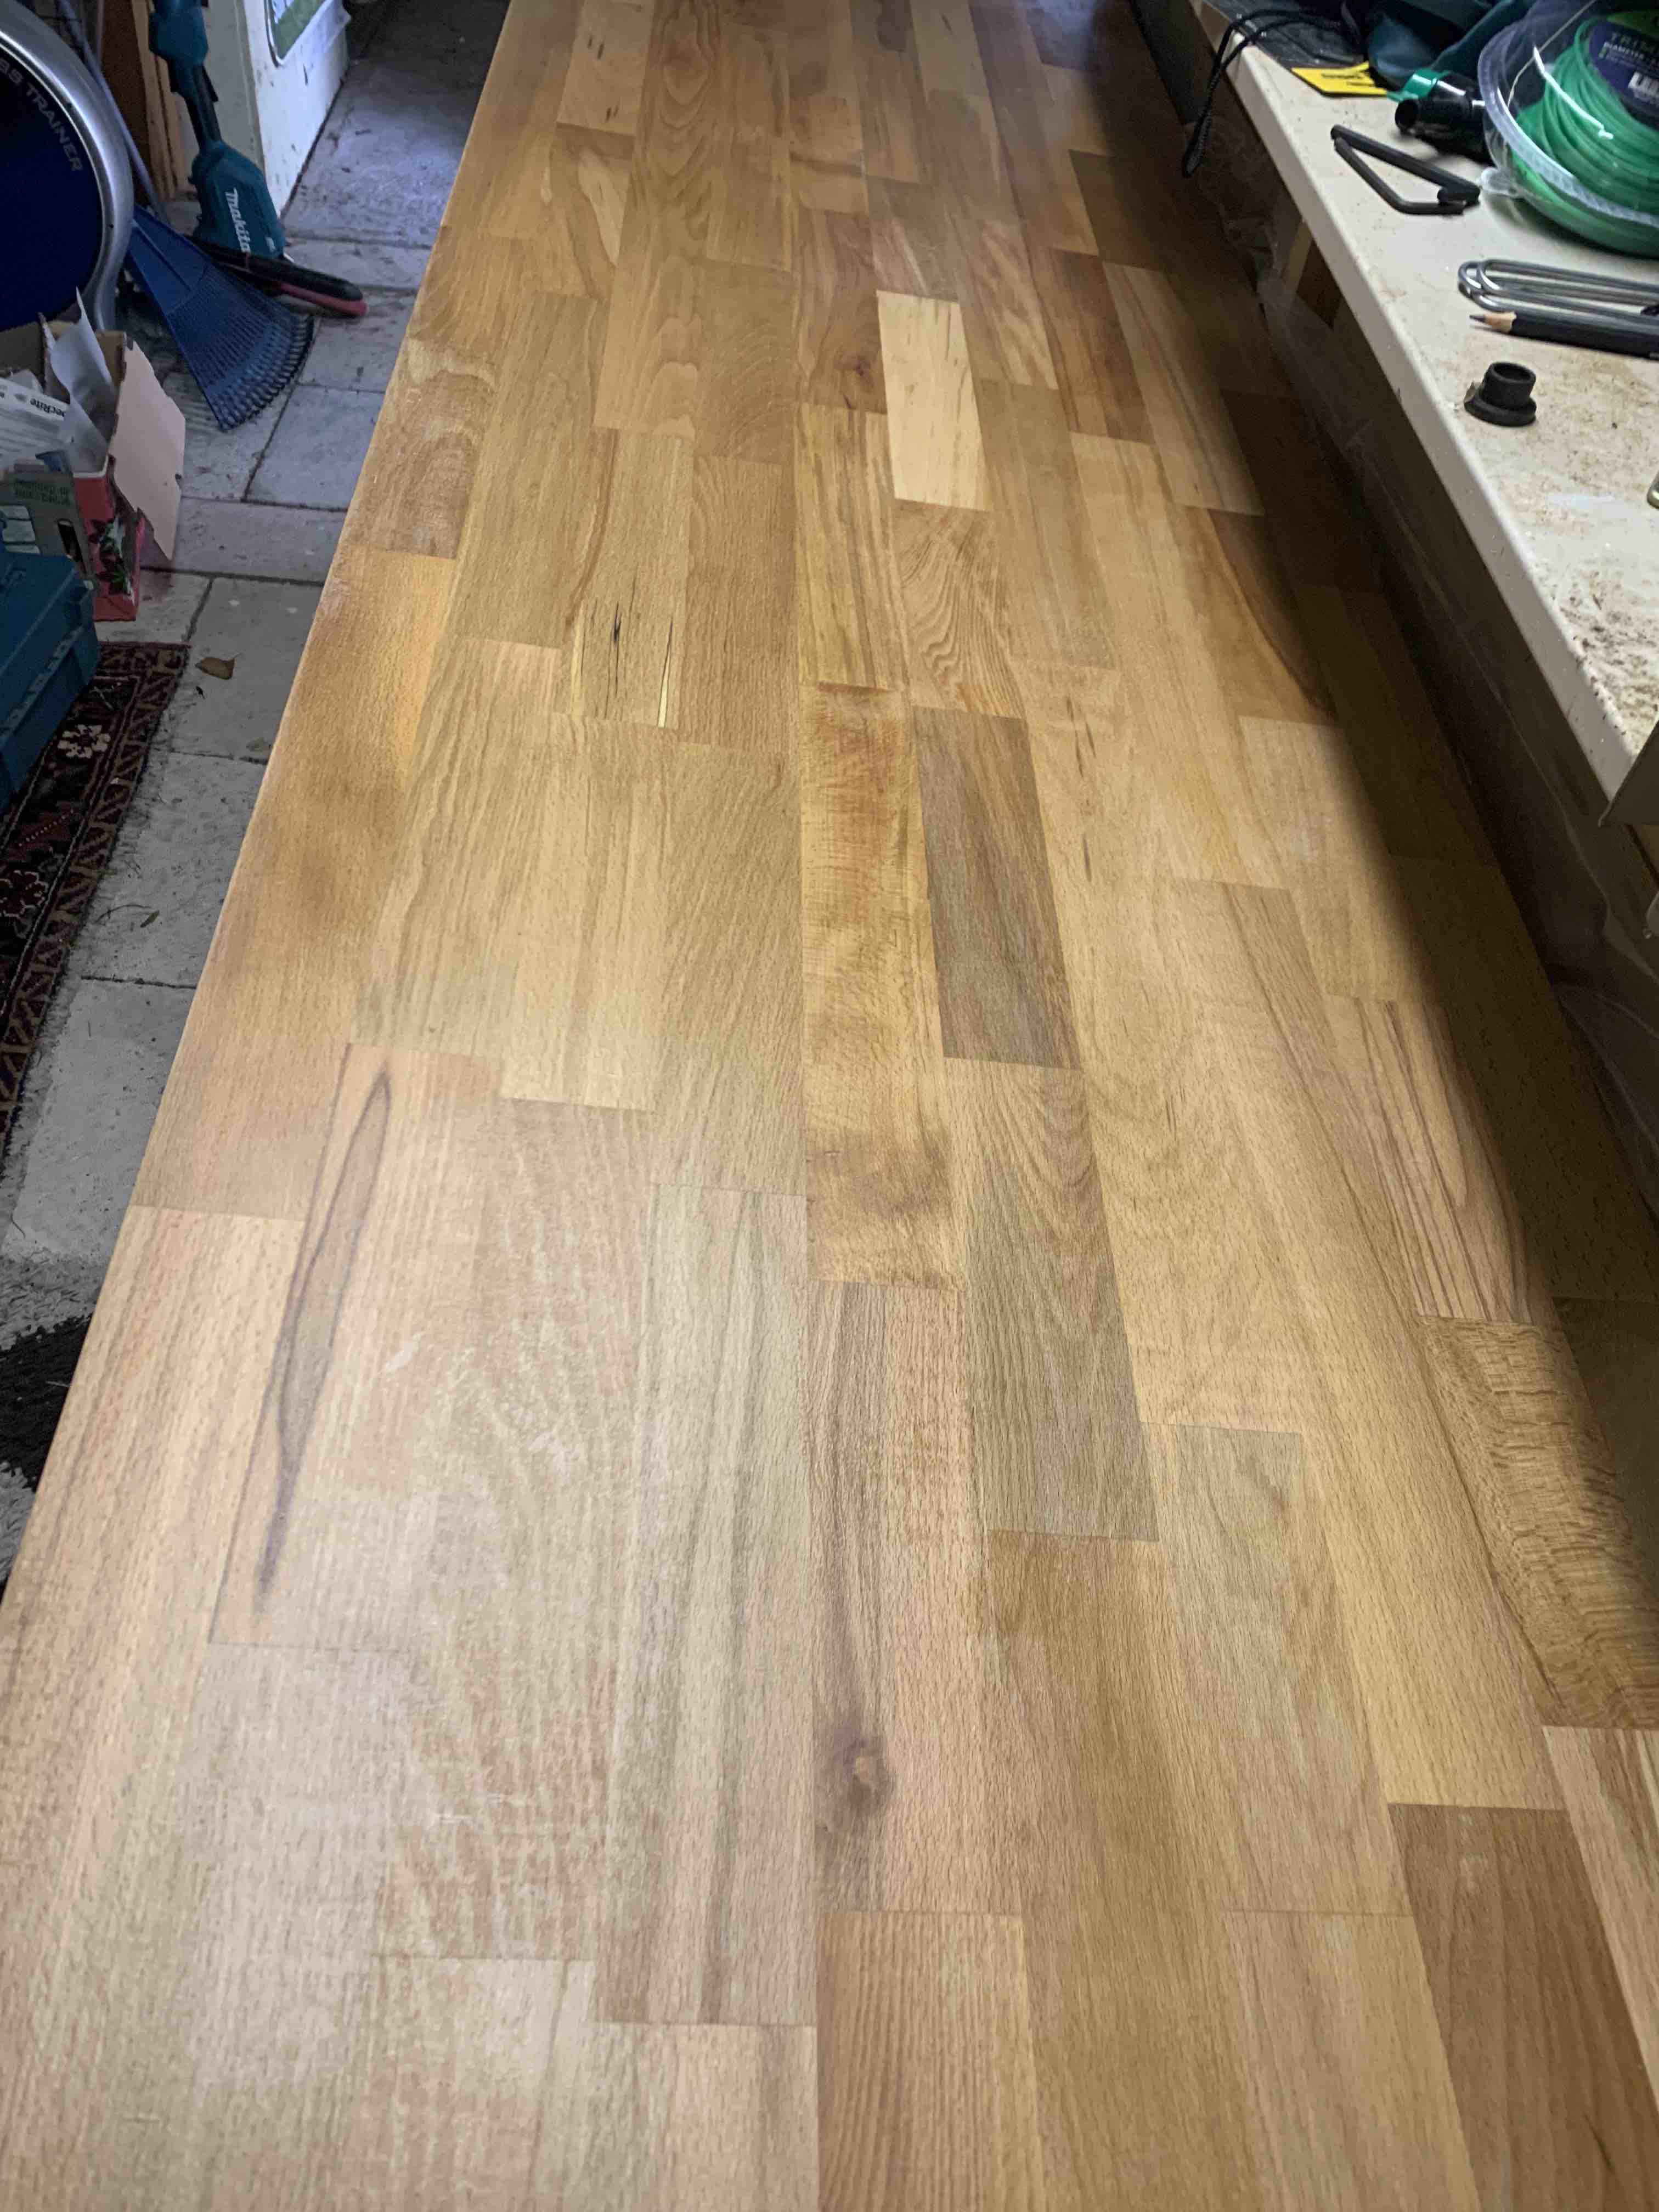
When the next day came I rushed excitedly downstairs to check on the panel. The varnish had settled nicely and I gently sanded the excess back, which produced a nice matt finish to the wood.
I could've jumped the gun right there and attempted to fix the panel, but I had to sort out the middle screw issue first.
I came across a right angle attachment tool online while searching how to get the middle bracket screw in. These basically attach to your drill and allow you to get the bit into tight places. They aren't cheap ($60) but every video I watched on them convinced me I would use it again. After getting one home it was clear that it was the right tool - I got the middle screws into the brackets no worries.
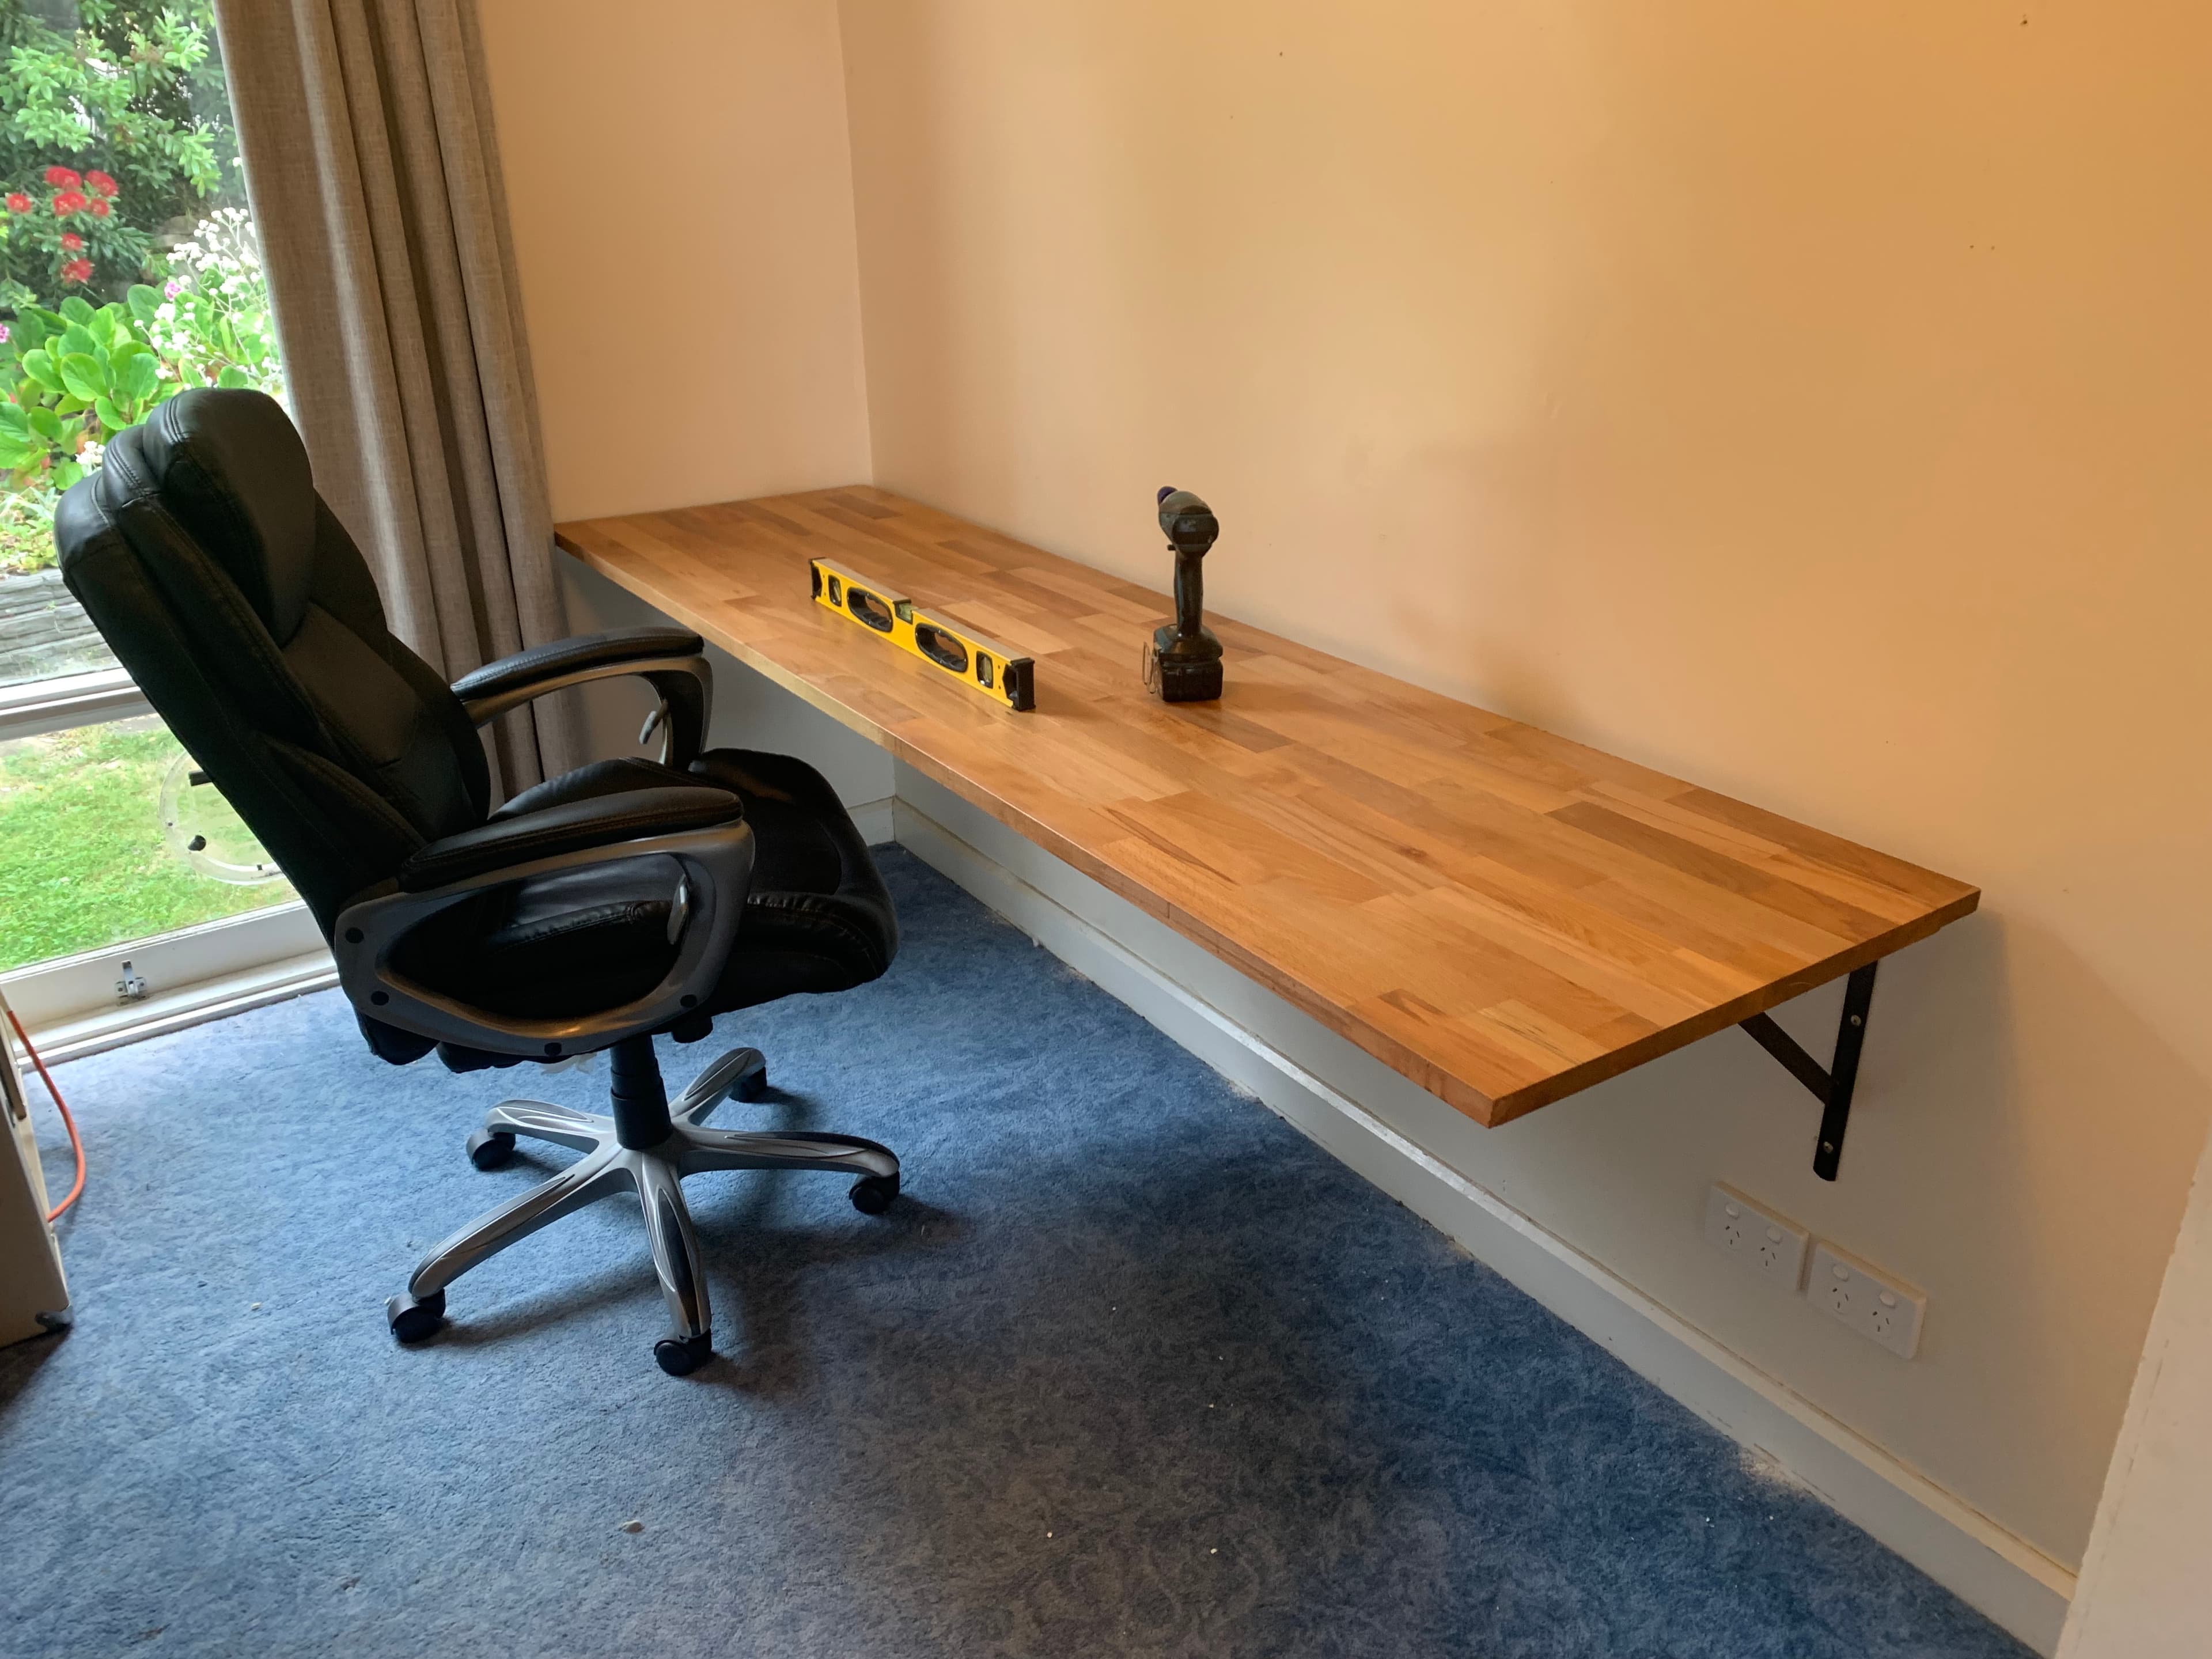
The moment of truth came and I placed the panel on the brackets, setting the wood far enough away from the wall to allow cabling to fit behind.
The screws I used to fit the brackets underneath to the wood were 20mm timber screws. Again, I should've drilled some pilot holes to prep the screws before going into the wood - it was difficult fixing them in, but I got there eventually.
What else I would do
- Replace the bottom bracket screws with some heavier guage screws. I've been using the desk for around a month now with no issues, but I'd like to ensure the integrity of the screw fixtures doesn't regress.
- Add an LED strip behind the panel for some ambient lighting.
- Add some PVC piping underneath for better cable management.